
Existing Office Ally Clients Please Note: If you already have an Office Ally account, you’ll need to contact Office Ally directly to request your SFTP credentials and configuration setup for ChiroFusion.
👉 Click here for instructions for existing Office Ally clients.
STEP 1. Enroll for a free Office Ally account.
Be sure to follow the instructions outlined below while completing your Office Ally enrollment application to ensure that your account is associated with ChiroFusion.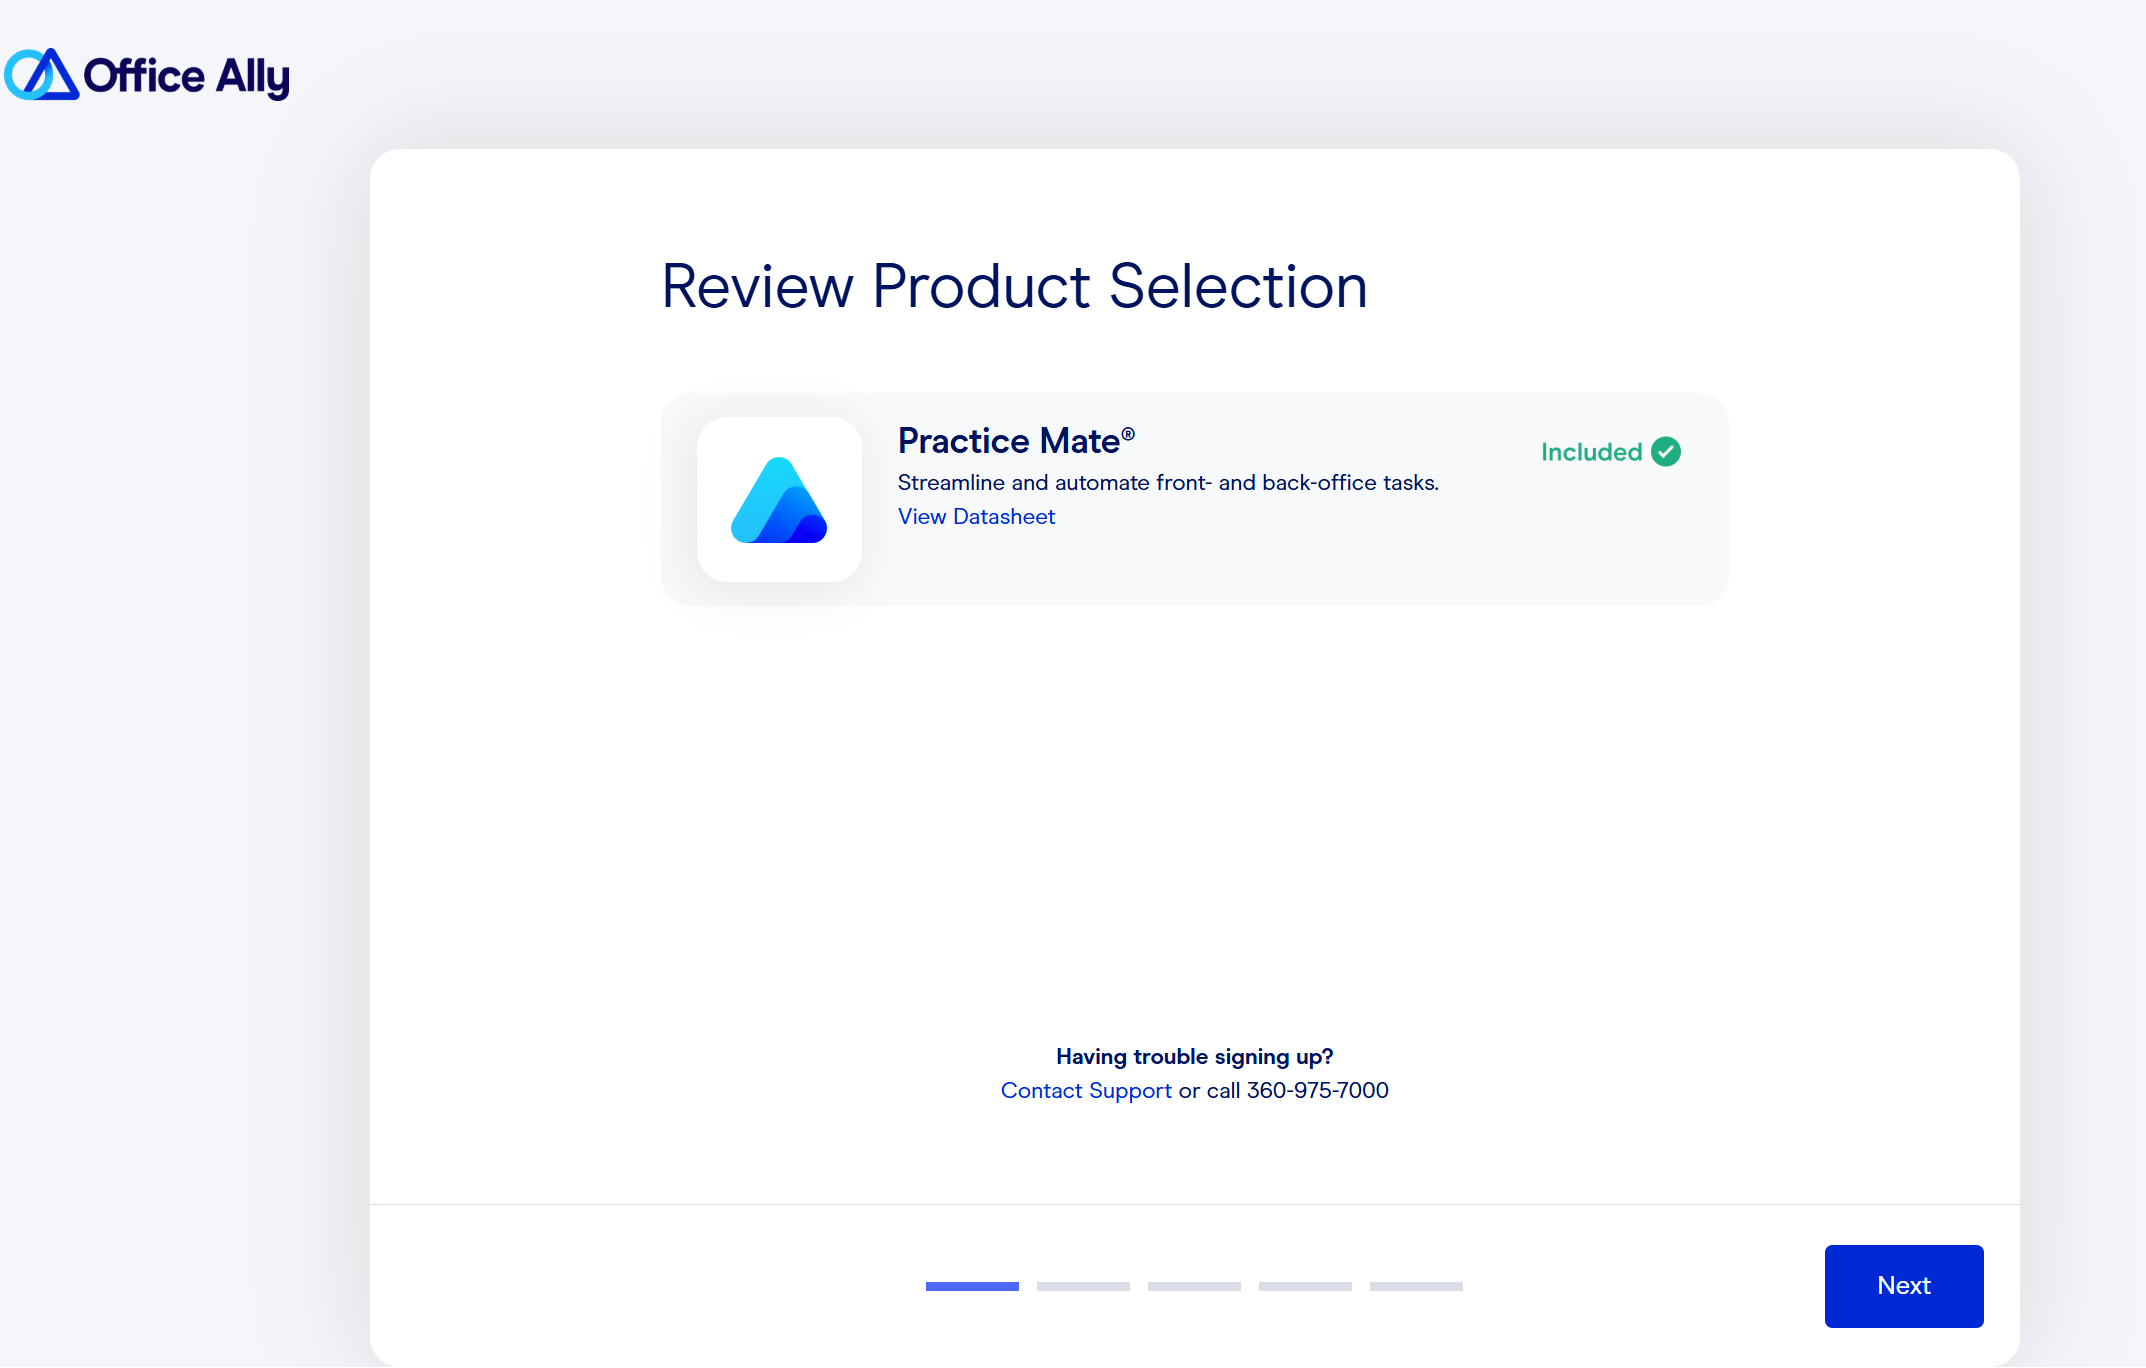
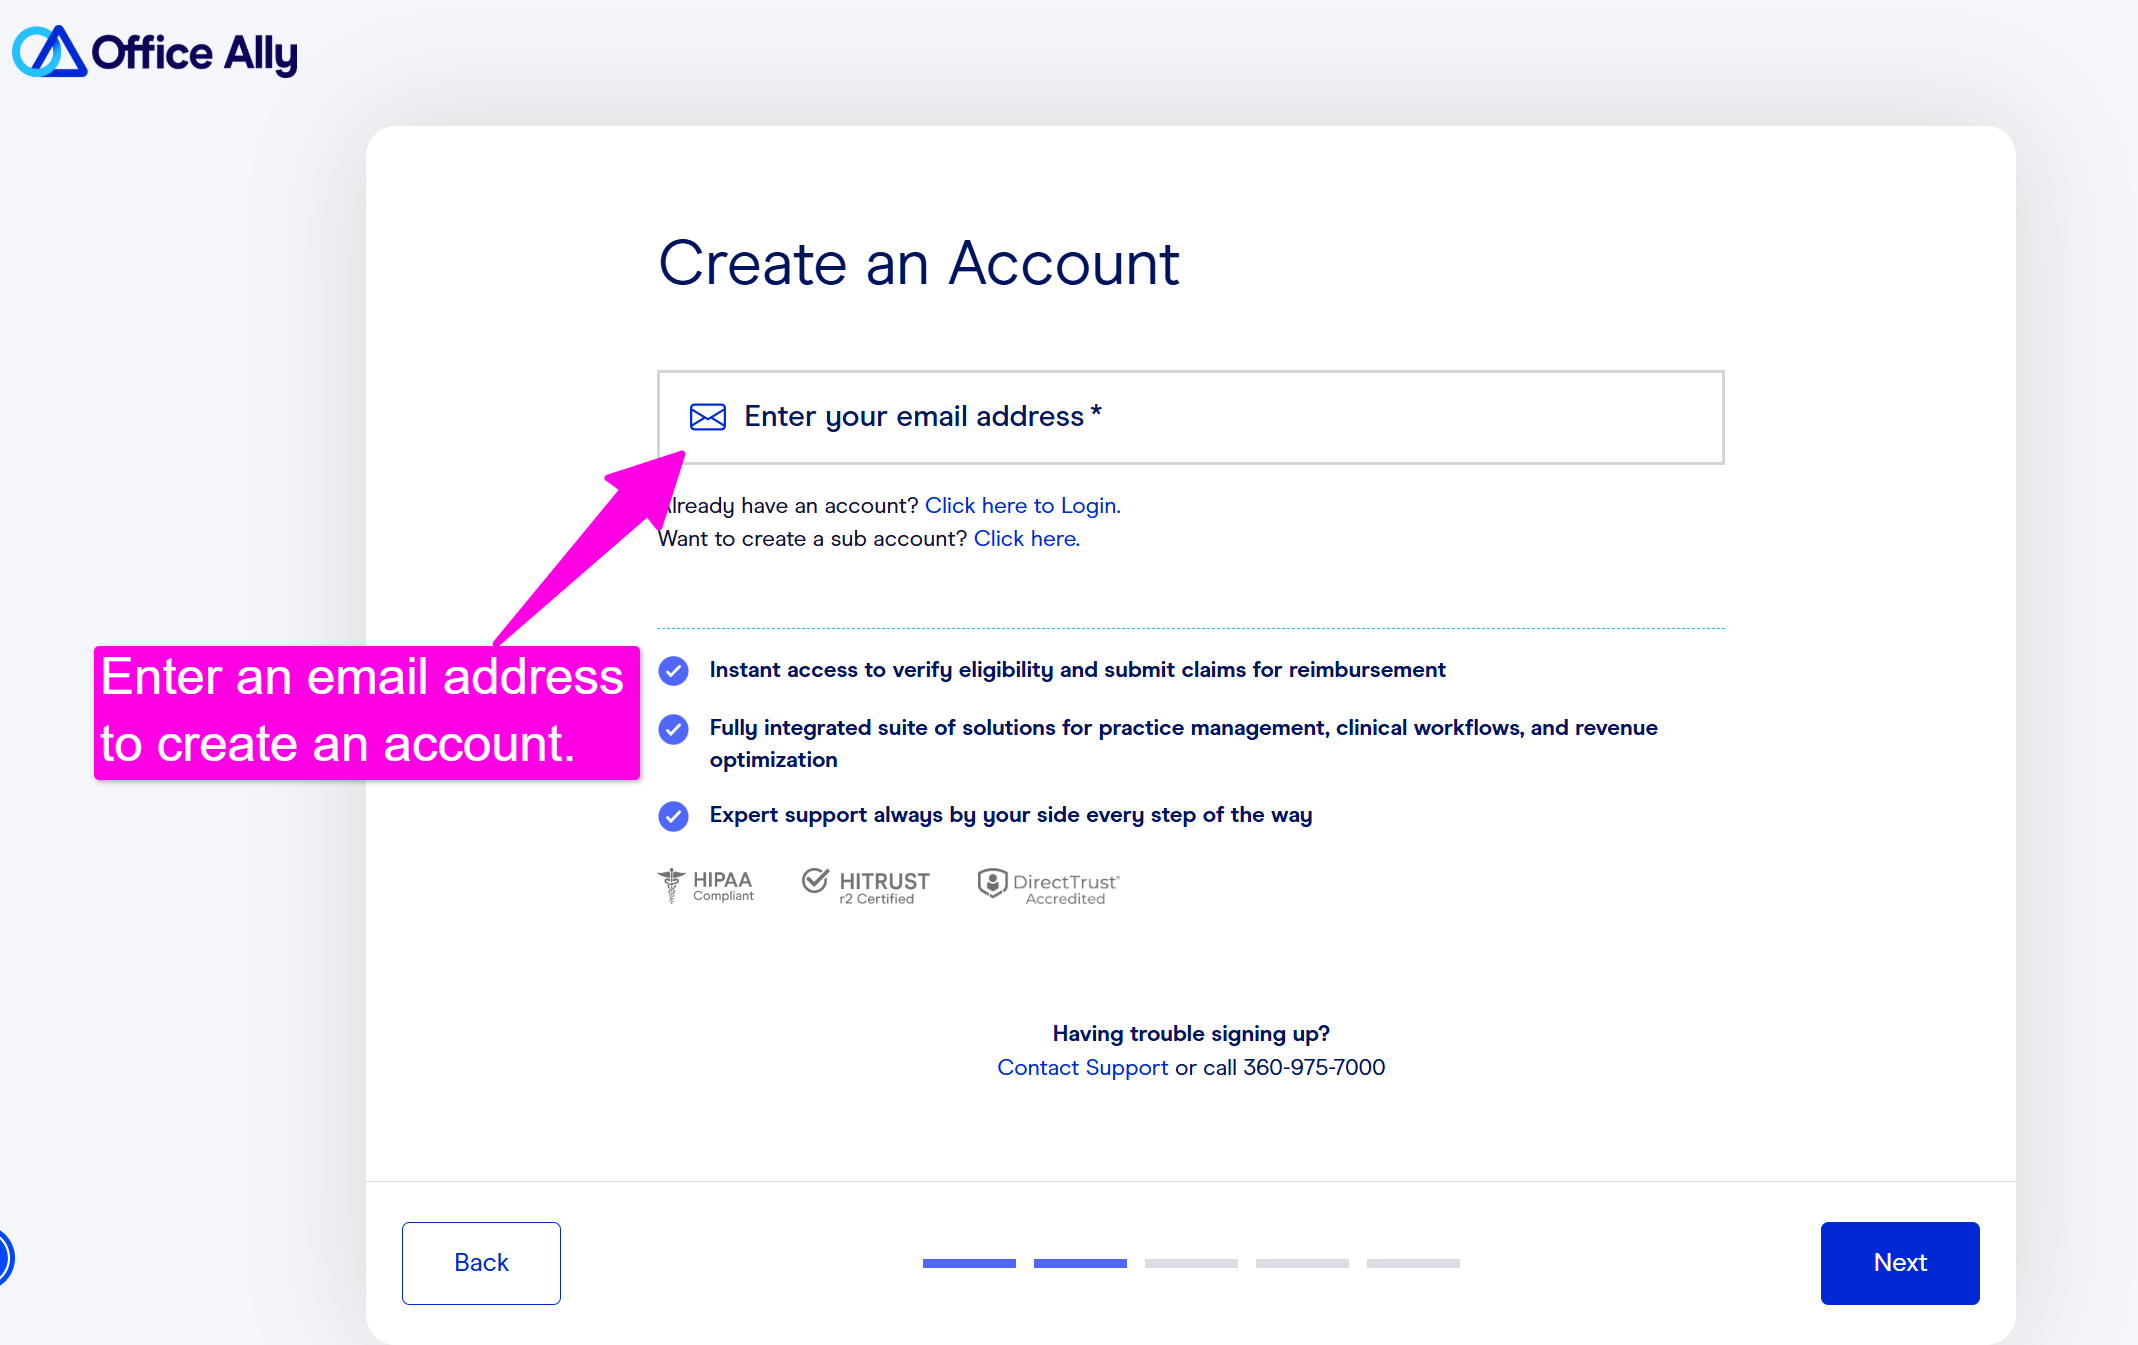
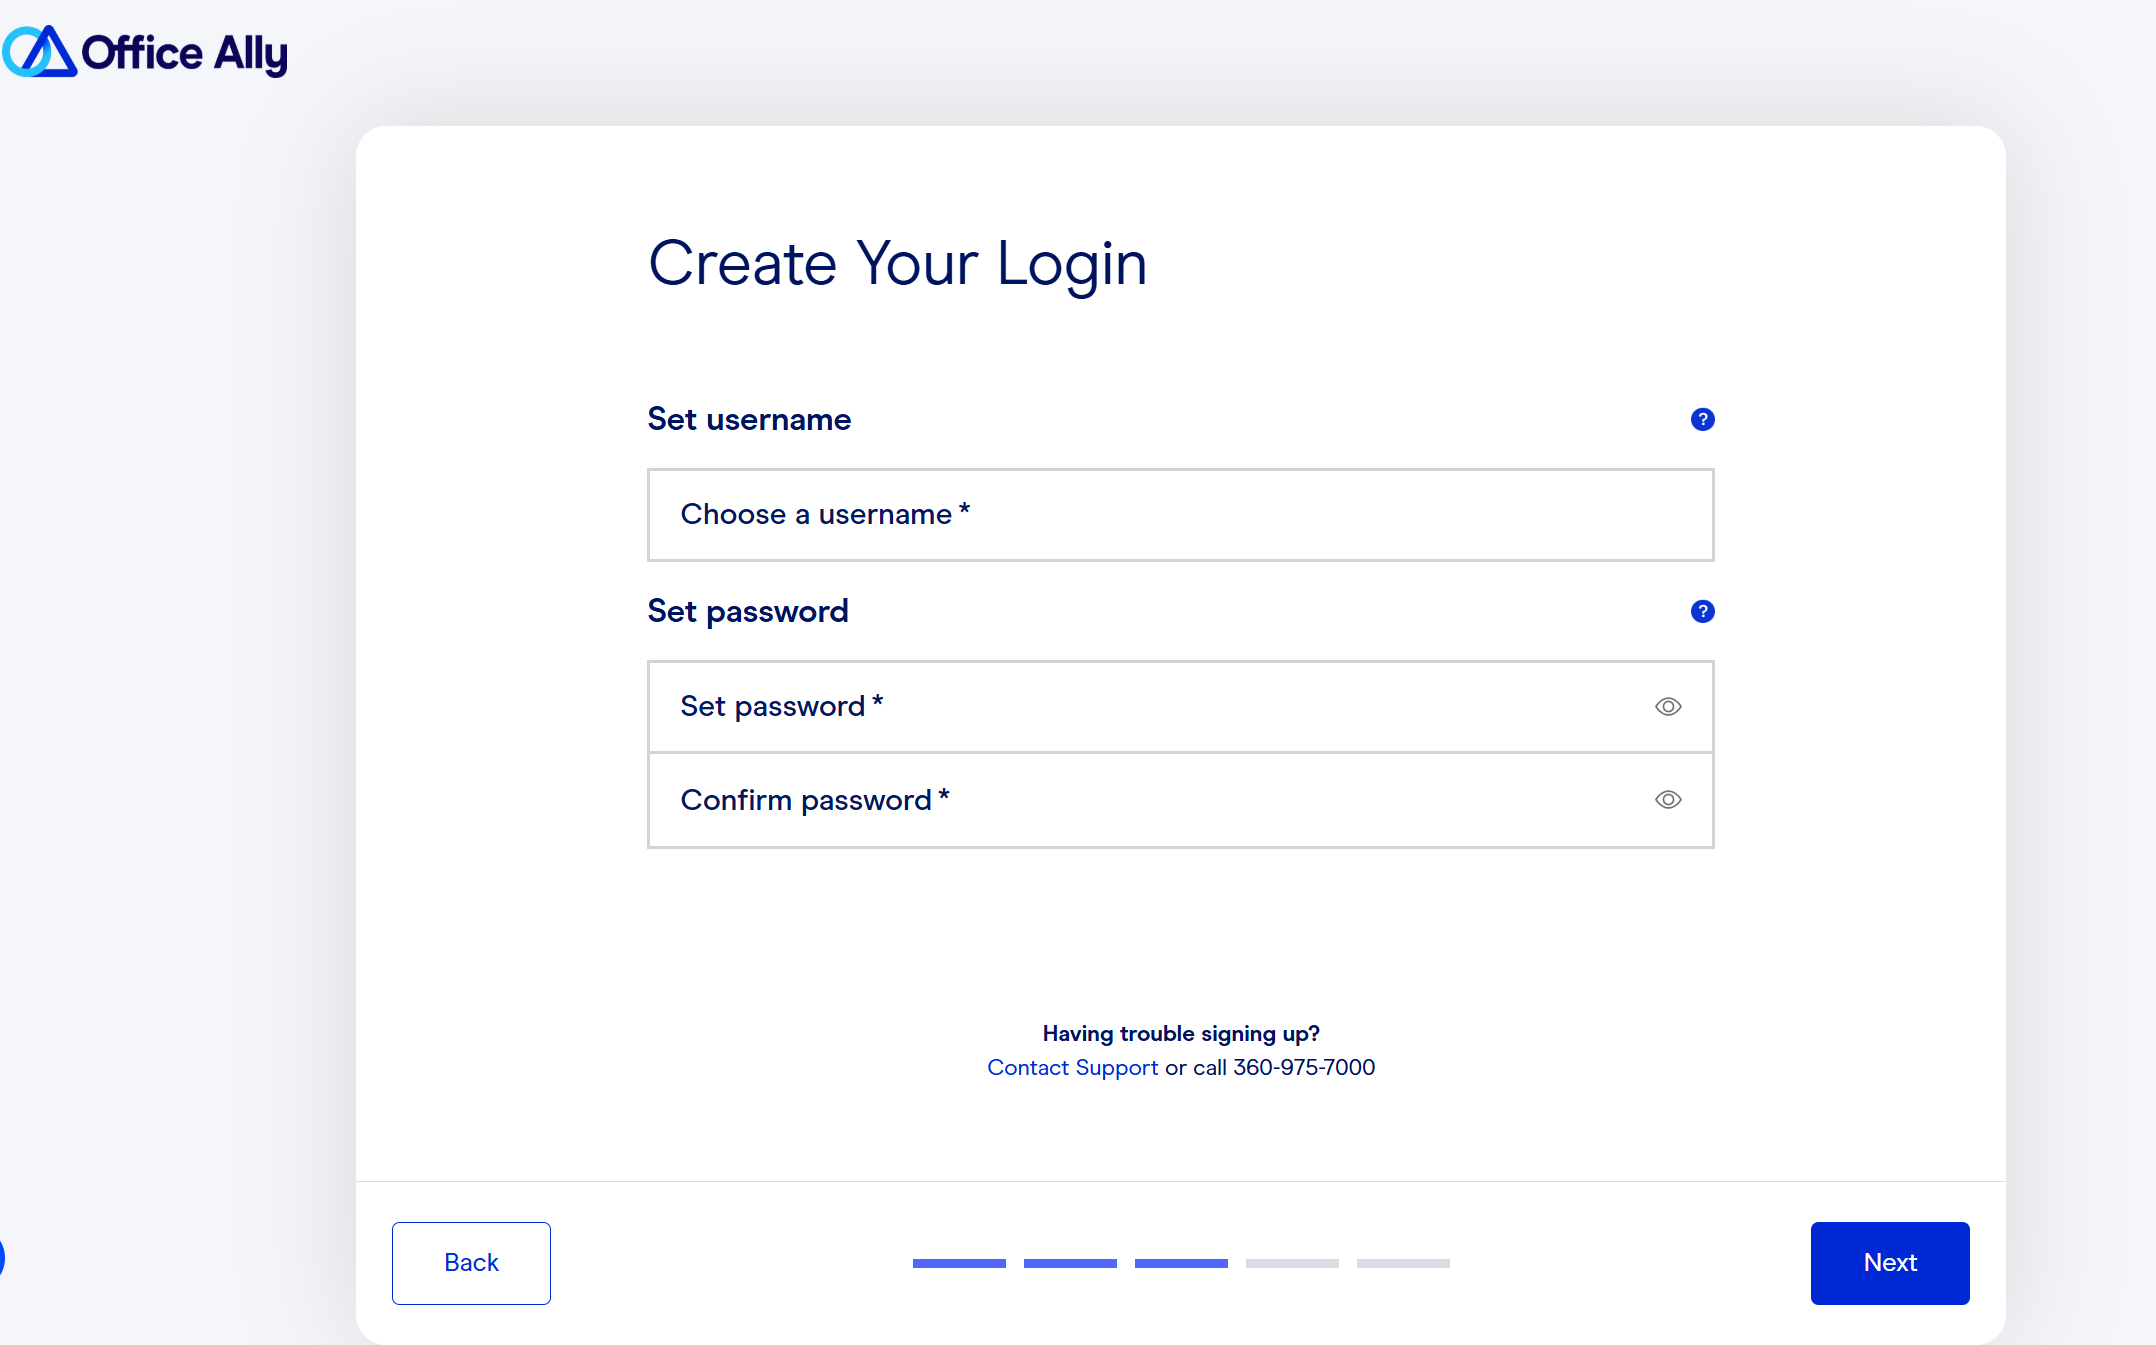
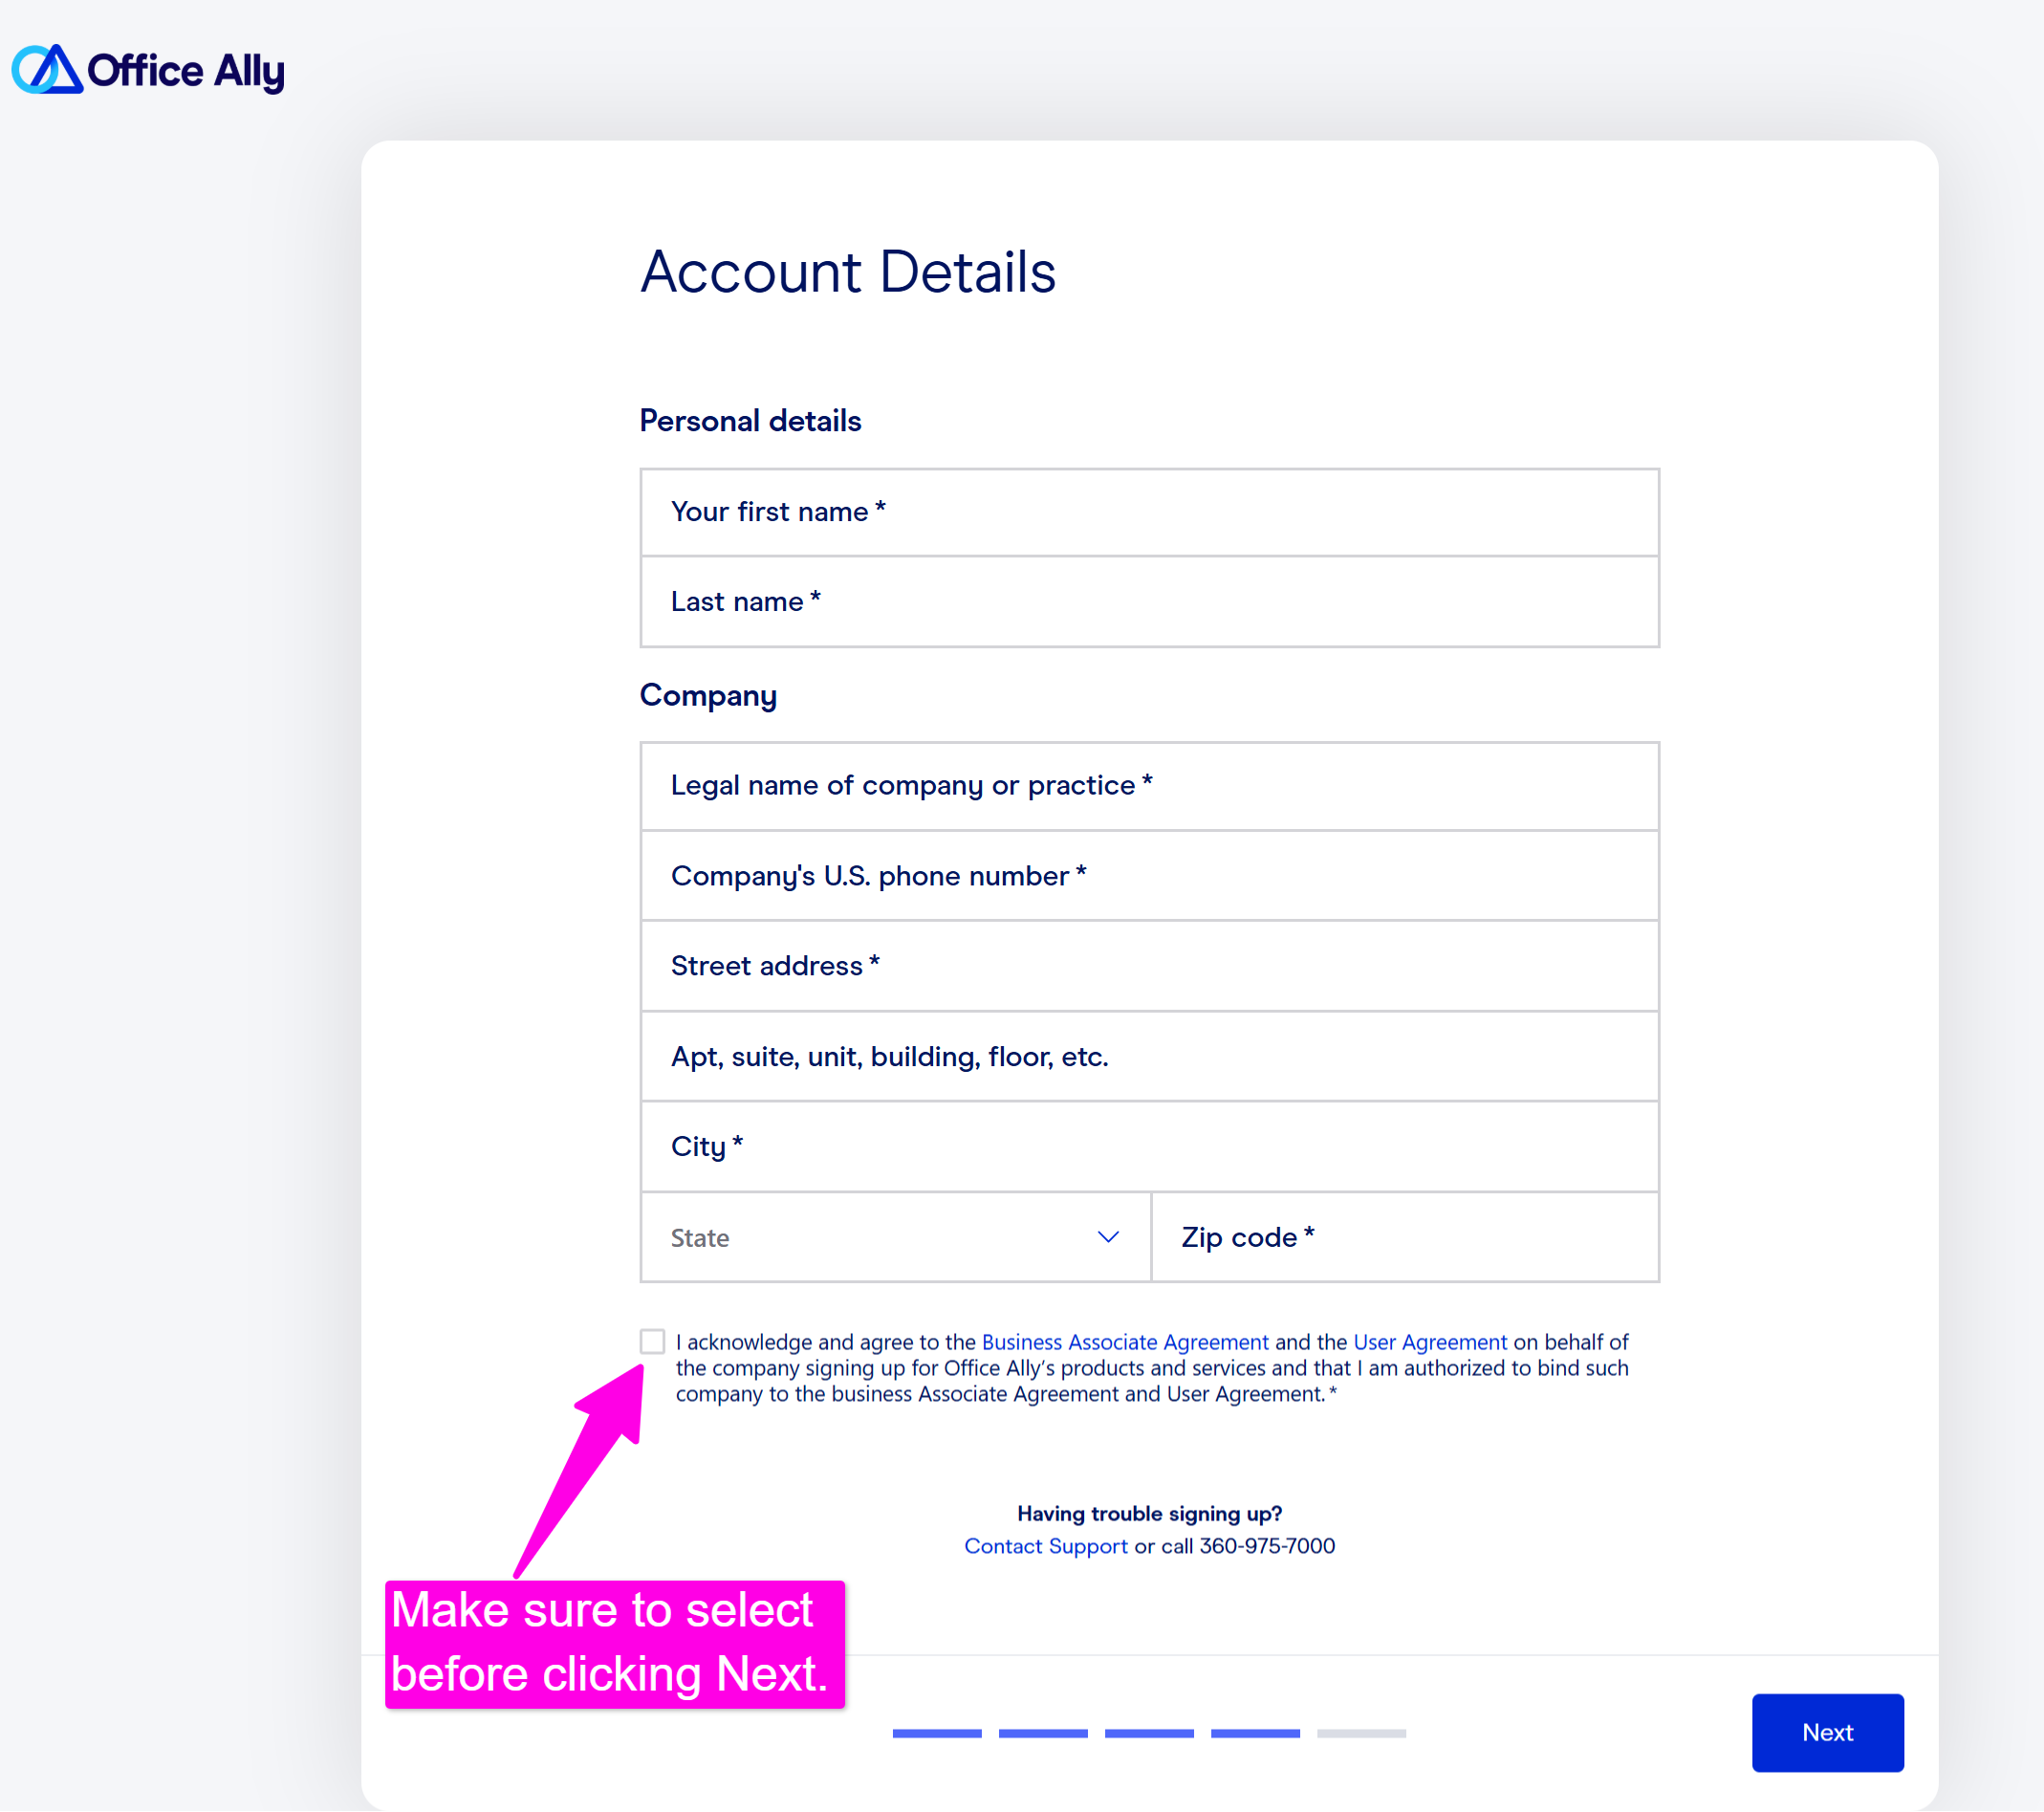
Create your Username and Password, enter your personal and practice details, and check the box to acknowledge the Business Associate and User Agreements.
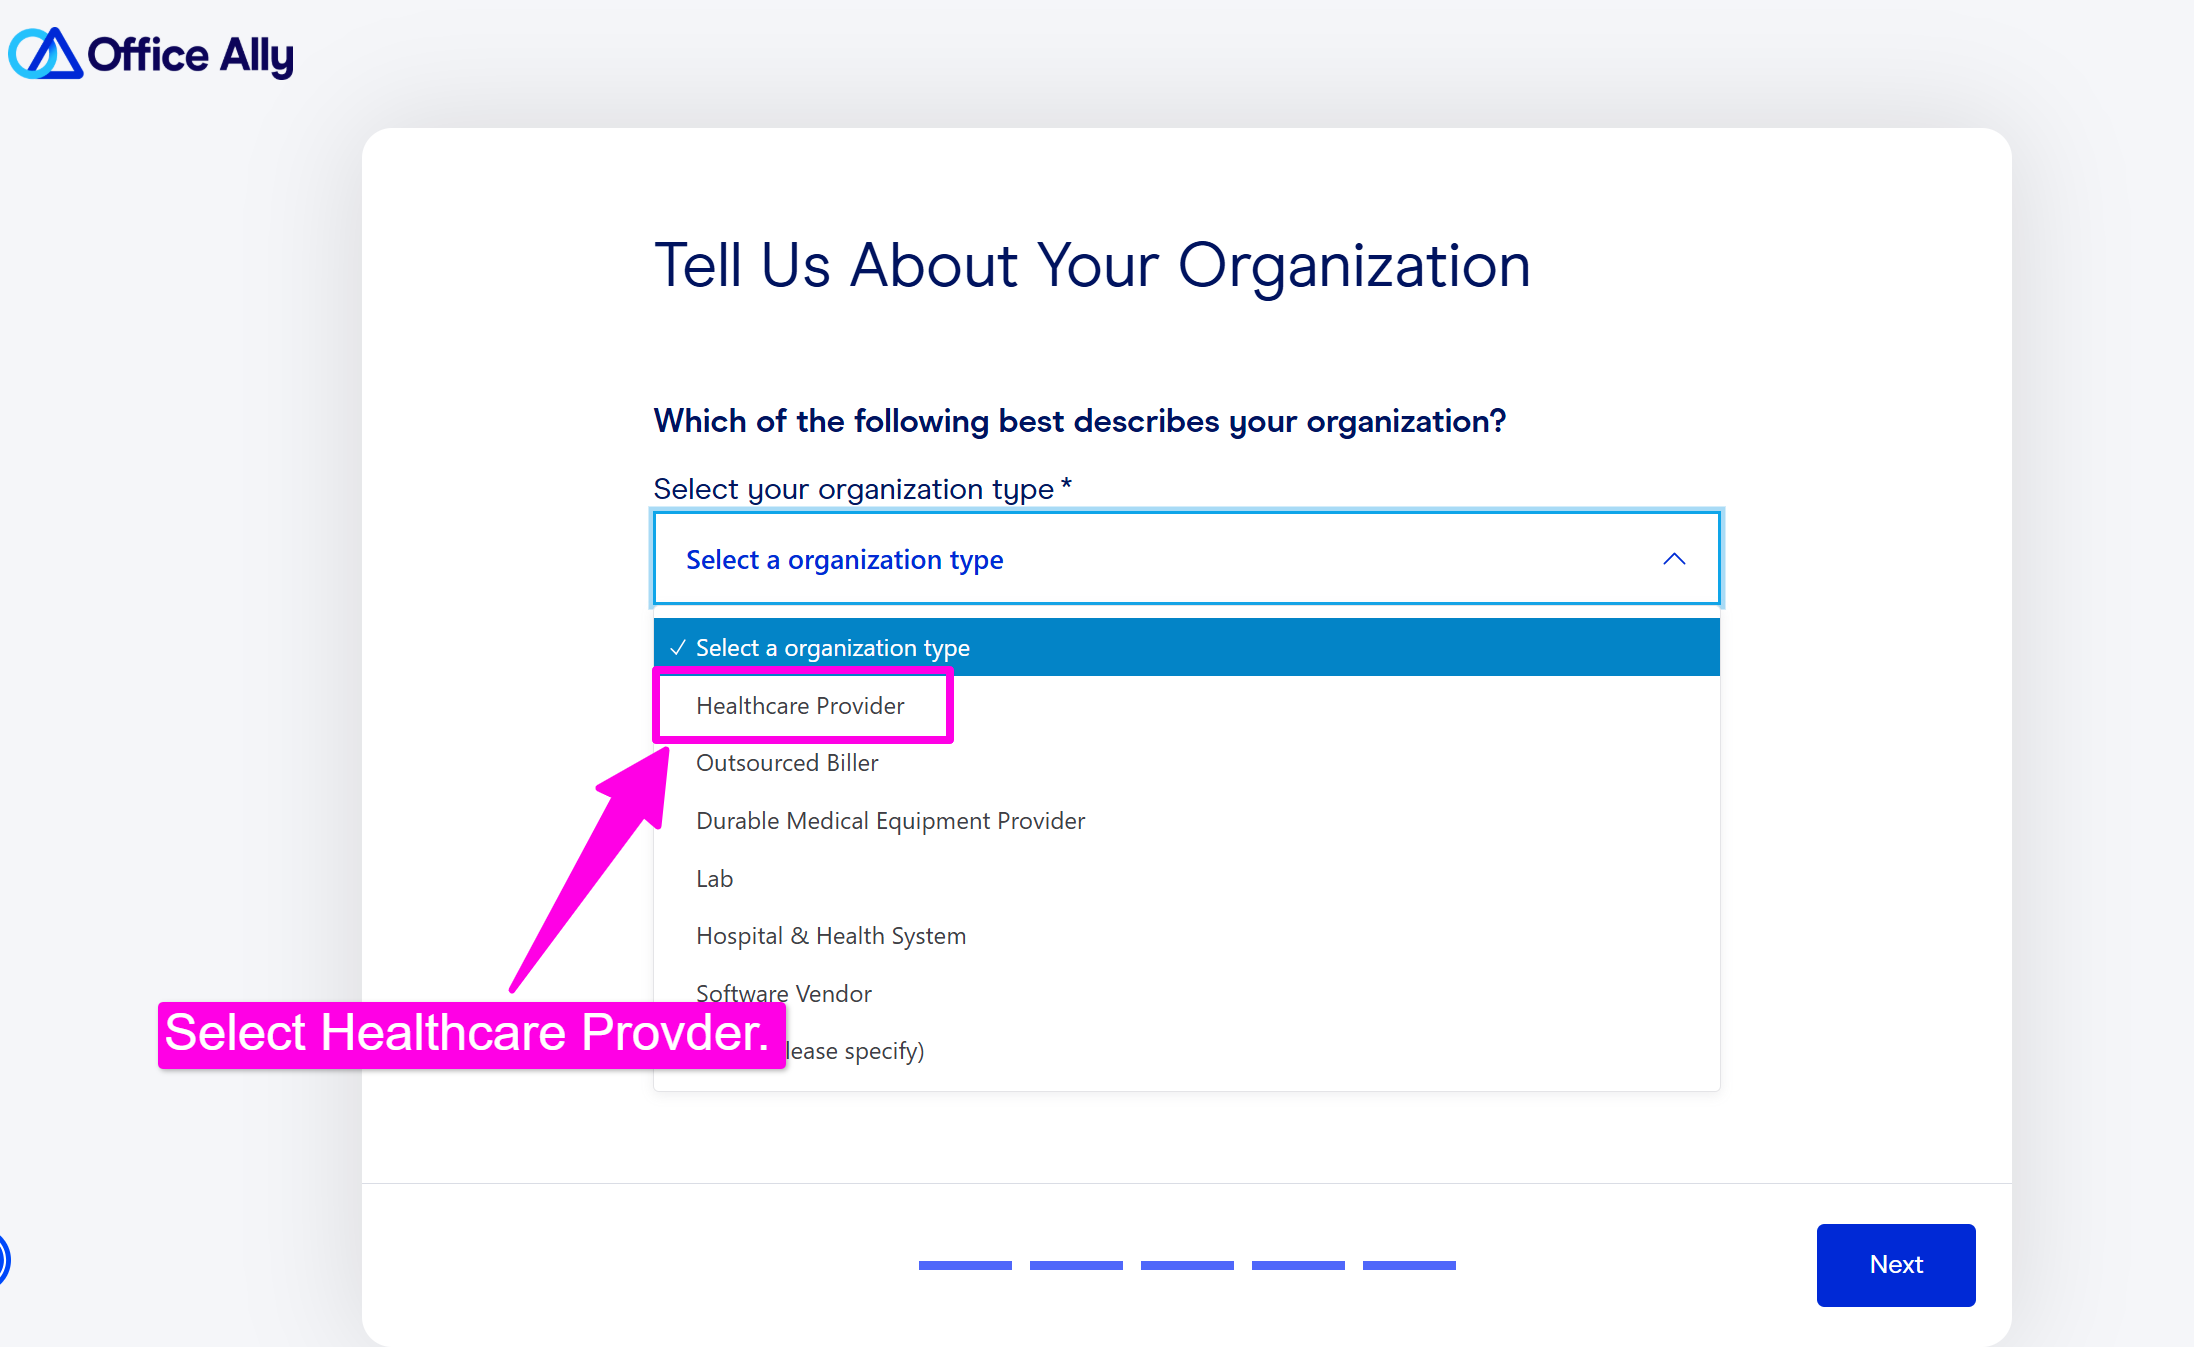
The "Tell Us About Your Organization" section you want to select "Healthcare Provider" and how many provider NPIs will bill within your organization.
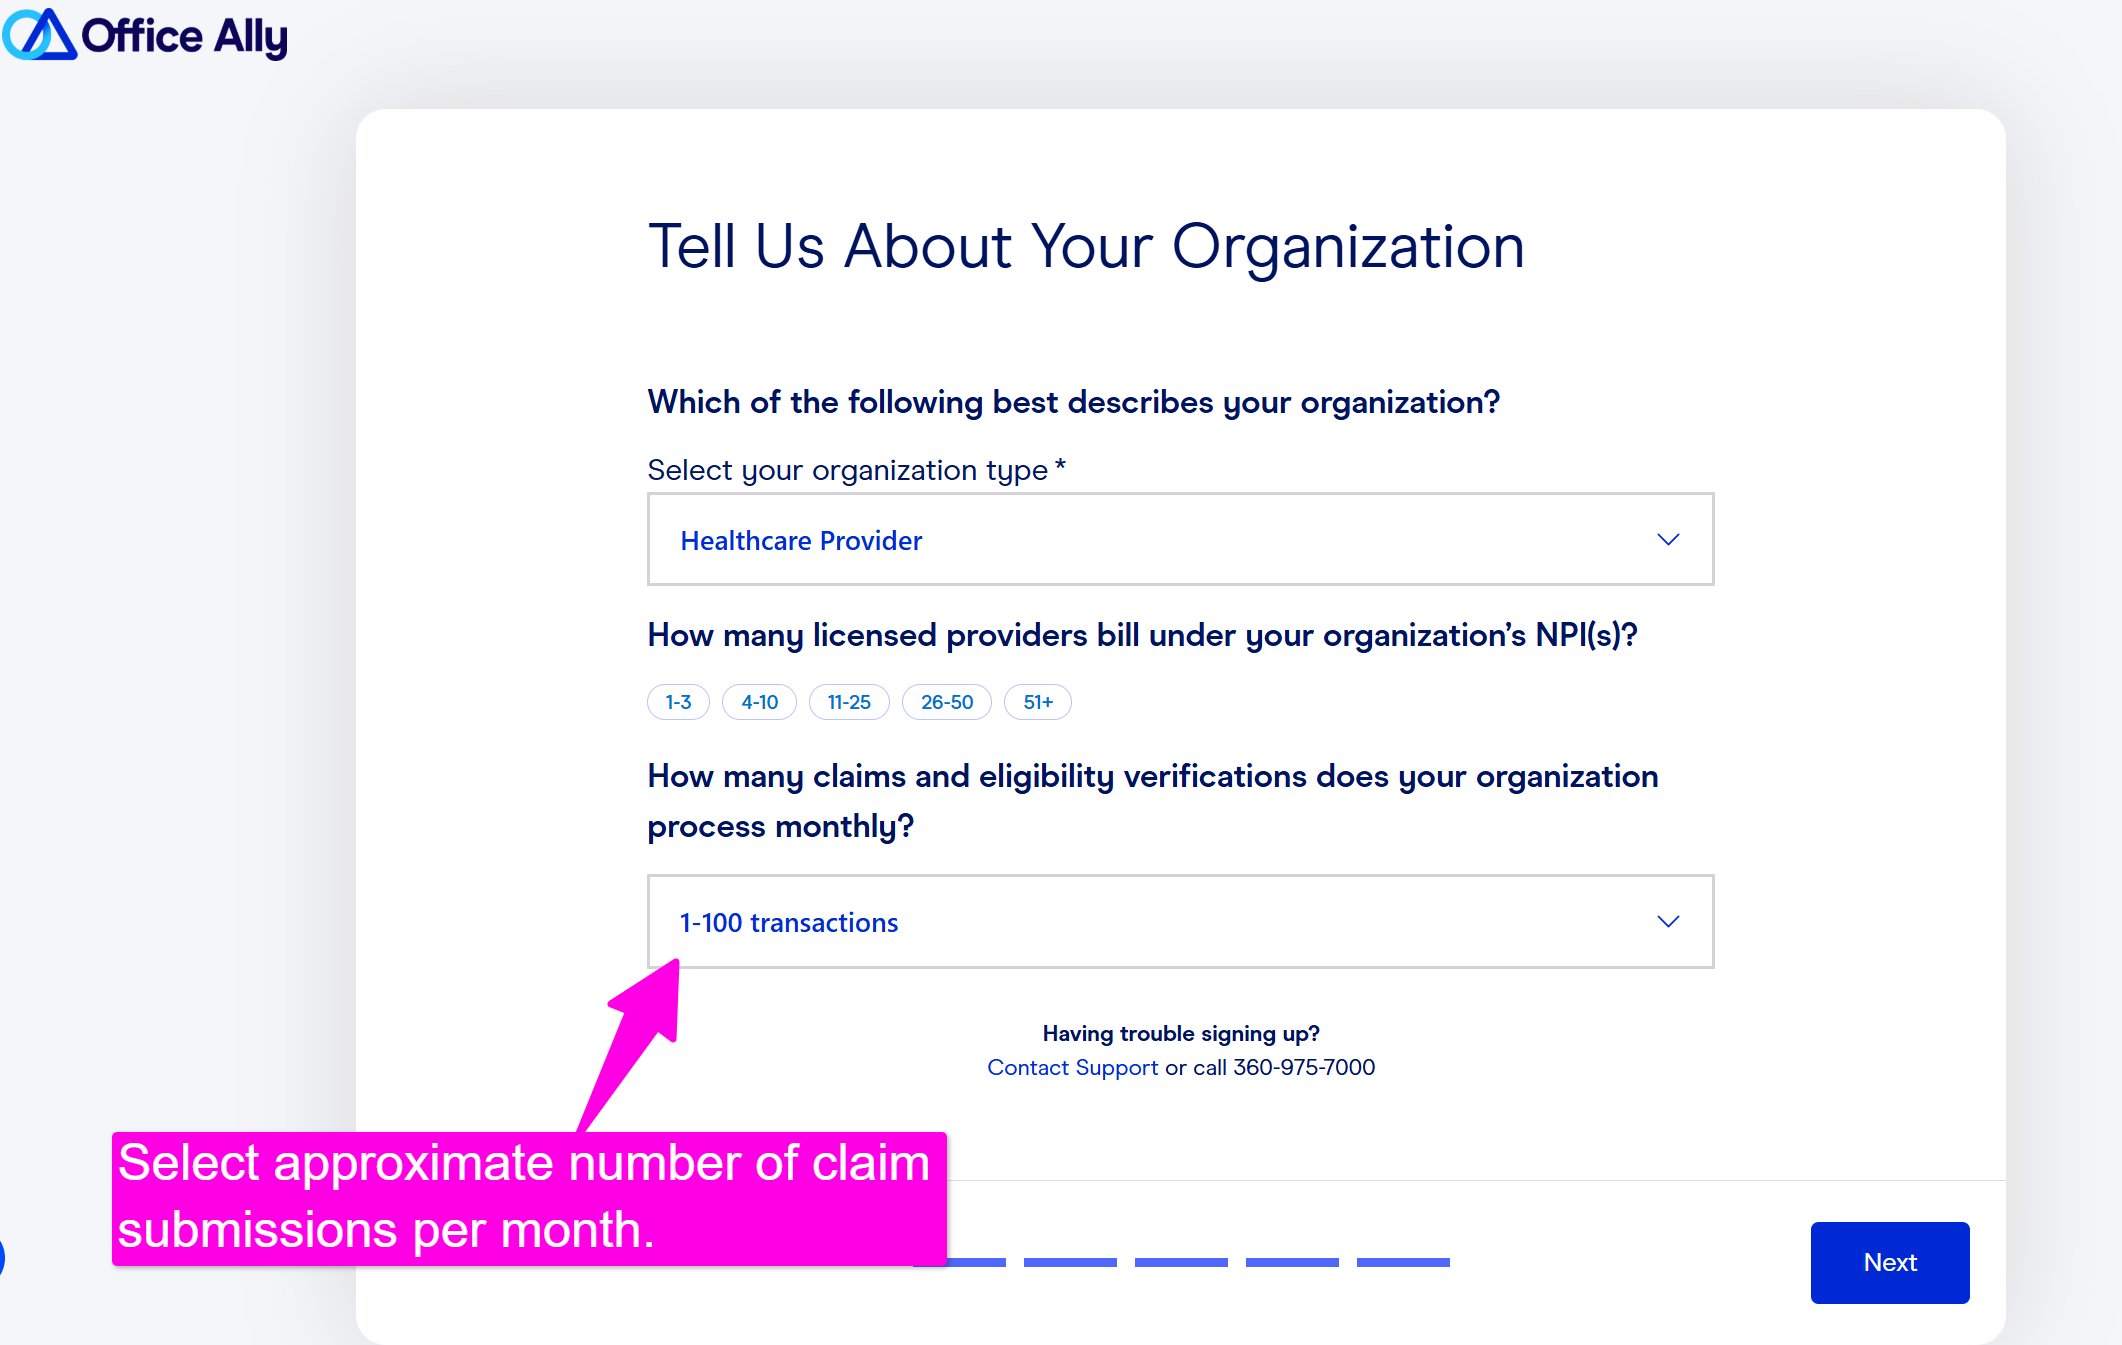
Then select about how many claims you will send per month and click next.
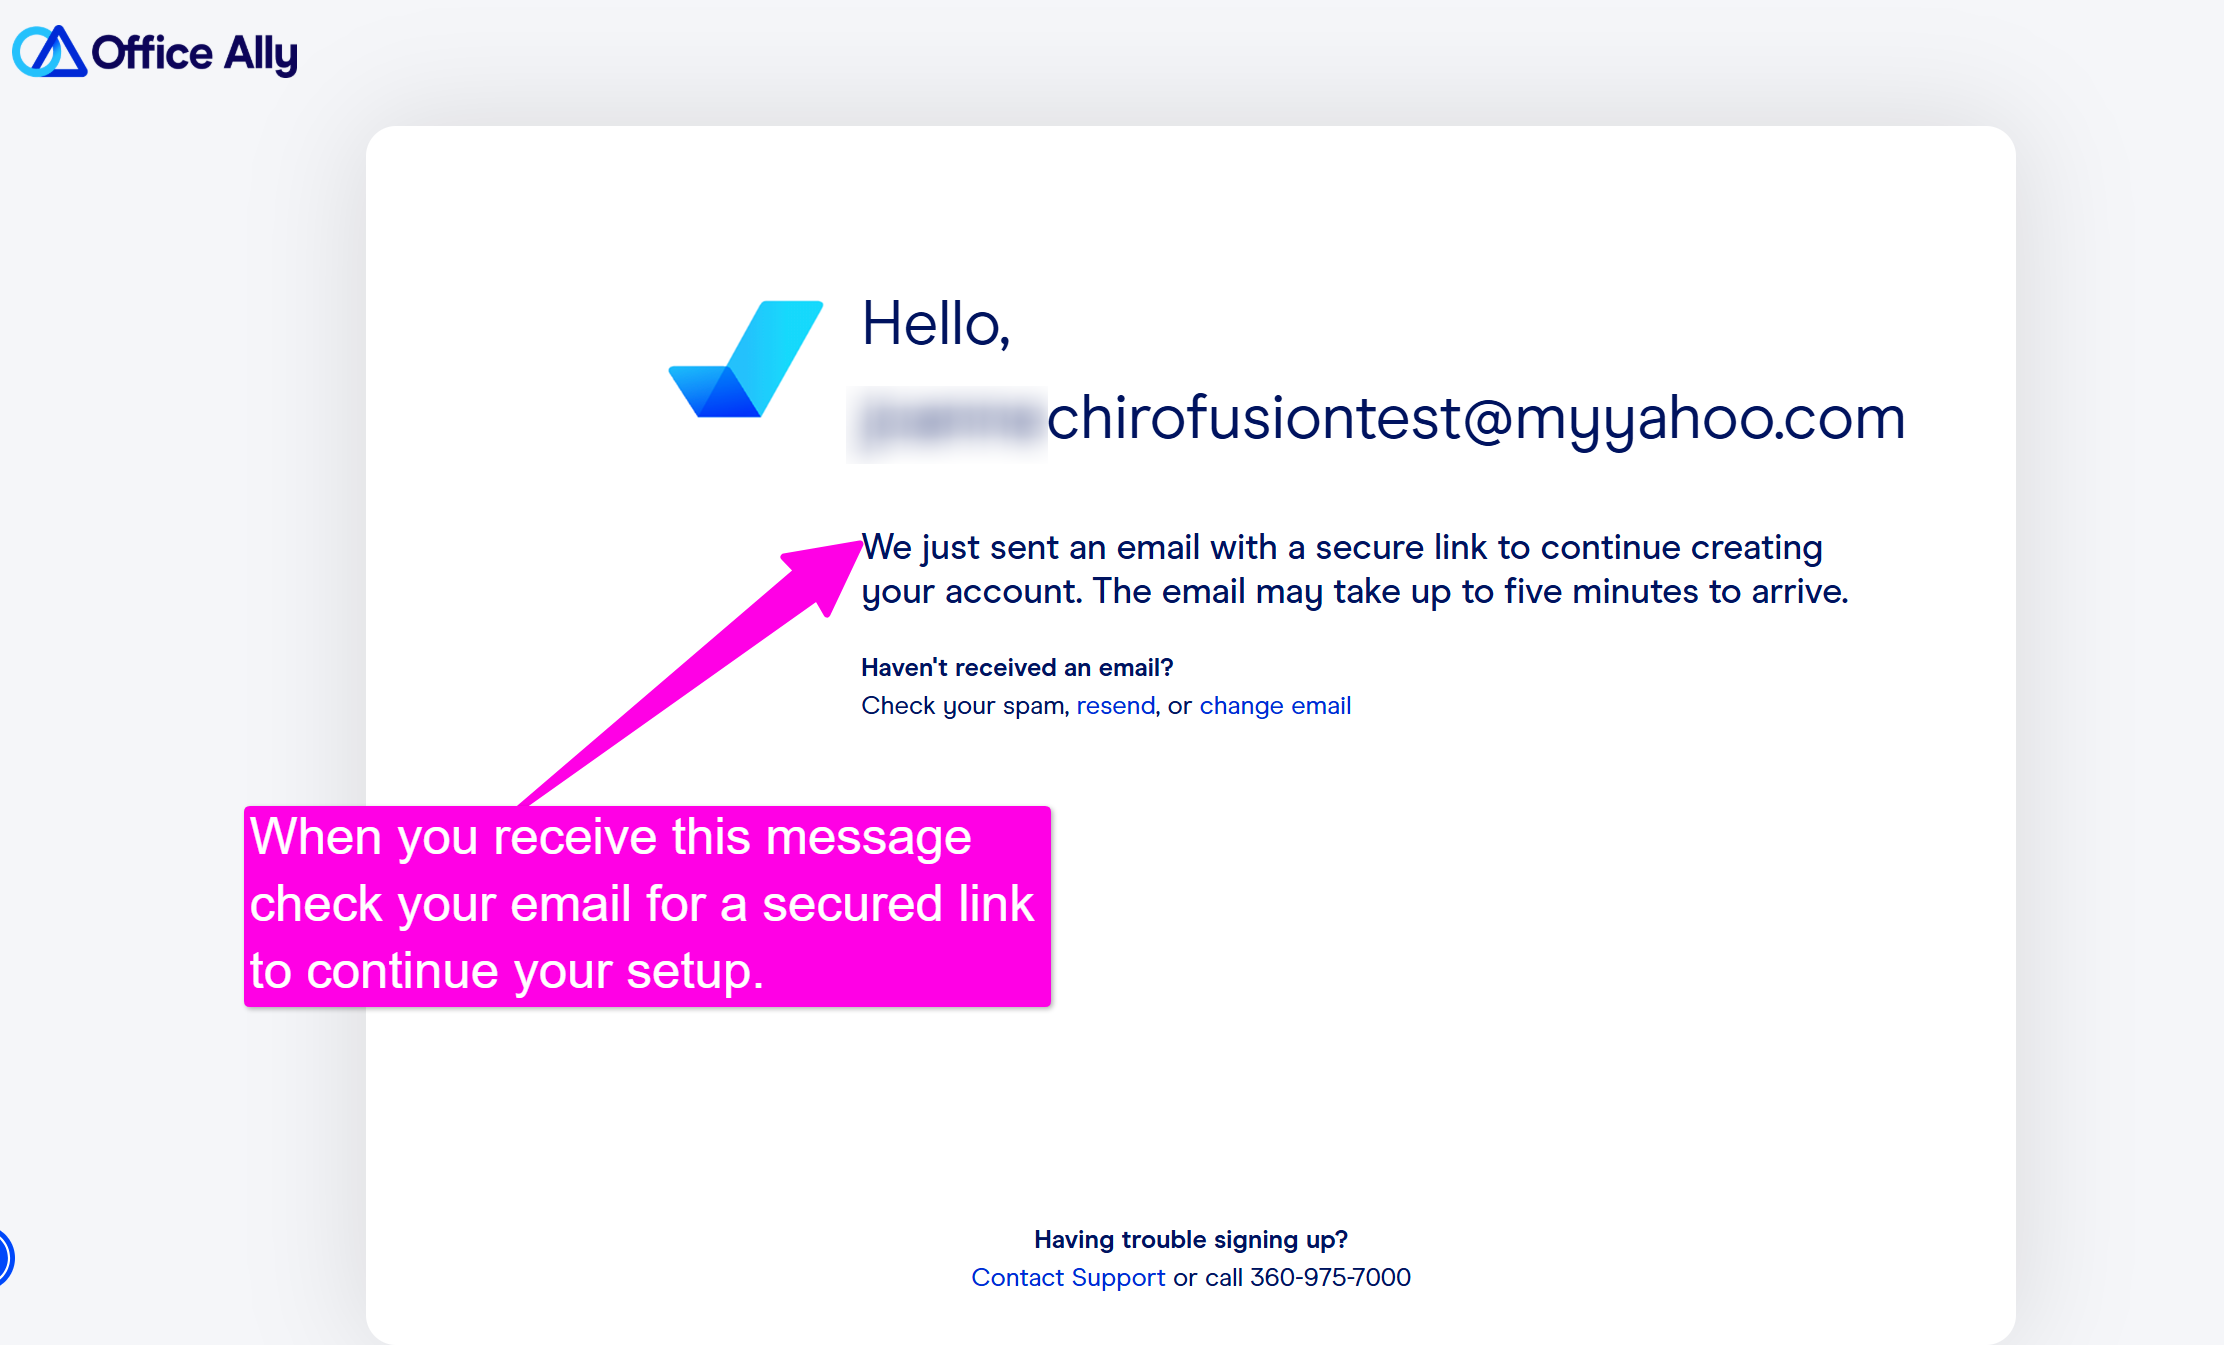
You'll see a message that includes your email that a secured link was emailed. Check your email for a donotreply@officeally.com with a subject line of "Office Ally Account Verification."
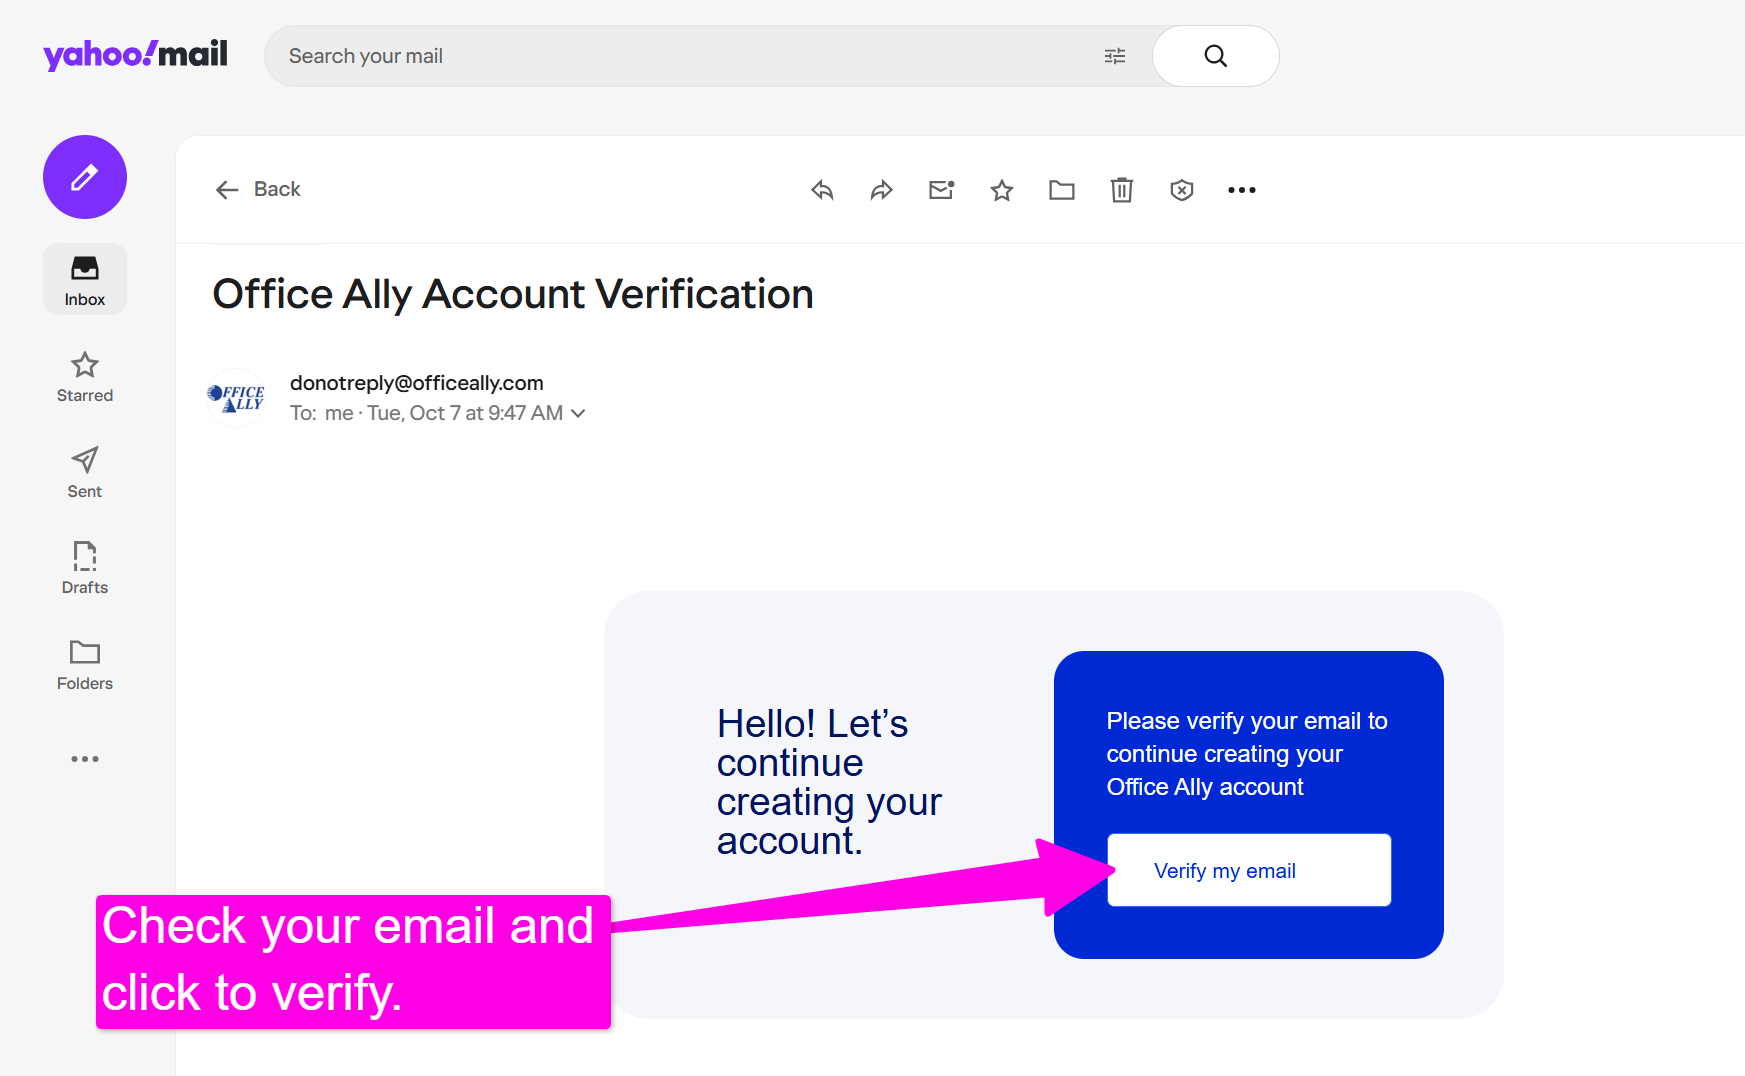
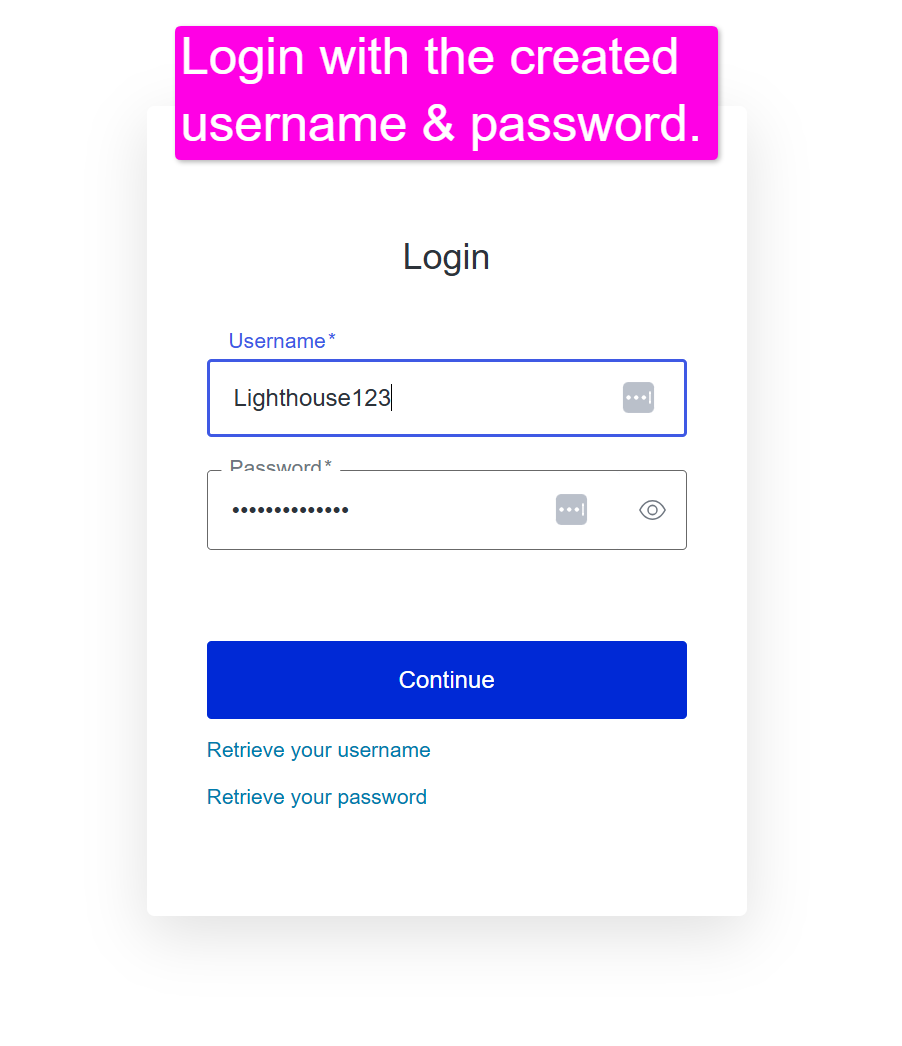
Once verified it'll take you to a login screen where you'll enter the username and password you created. Input that information in order to log in to your account to finish the enrollment process.
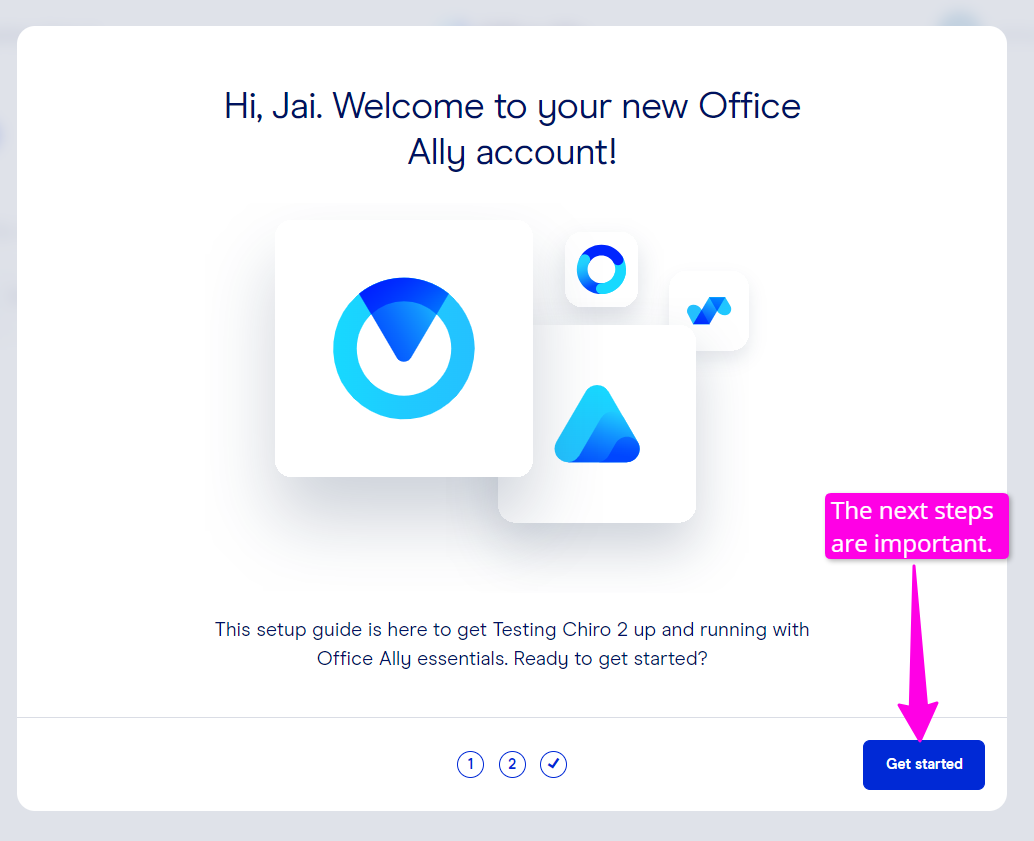
Once logged in you'll get a screen with a "Get Started" button.
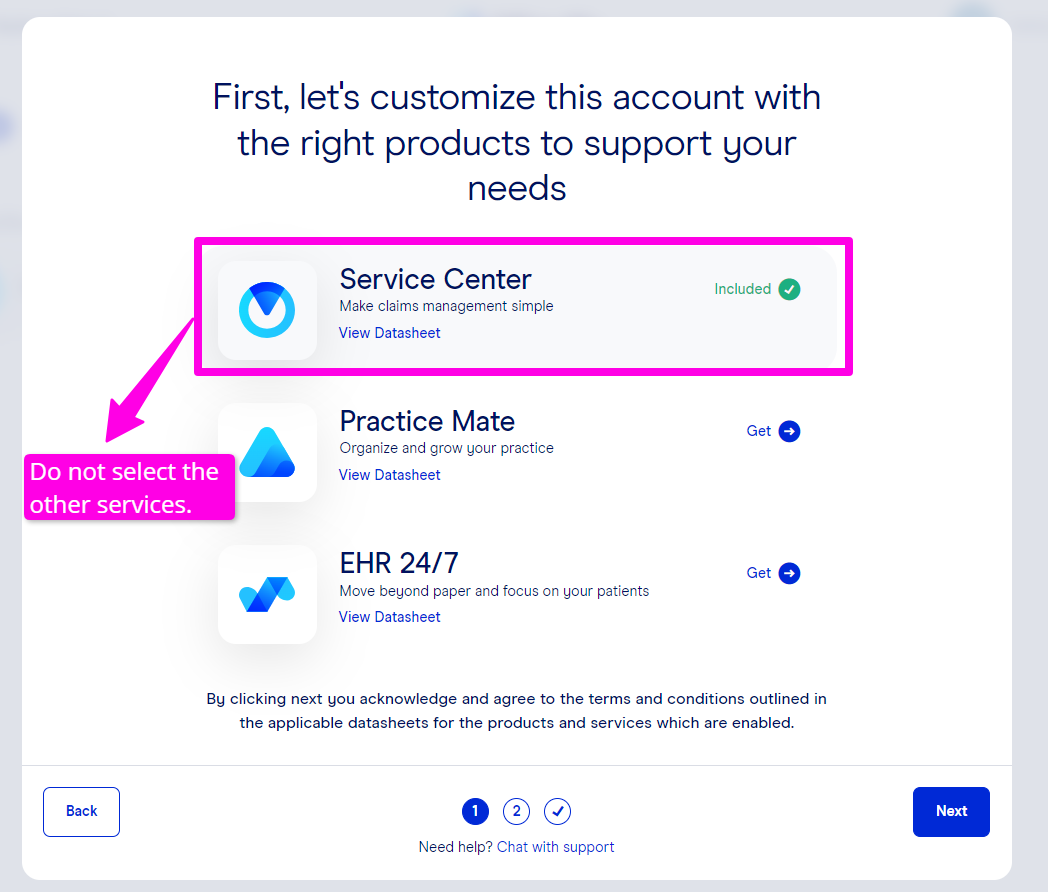
Make sure you only have the Service Center option and not any of the other services.
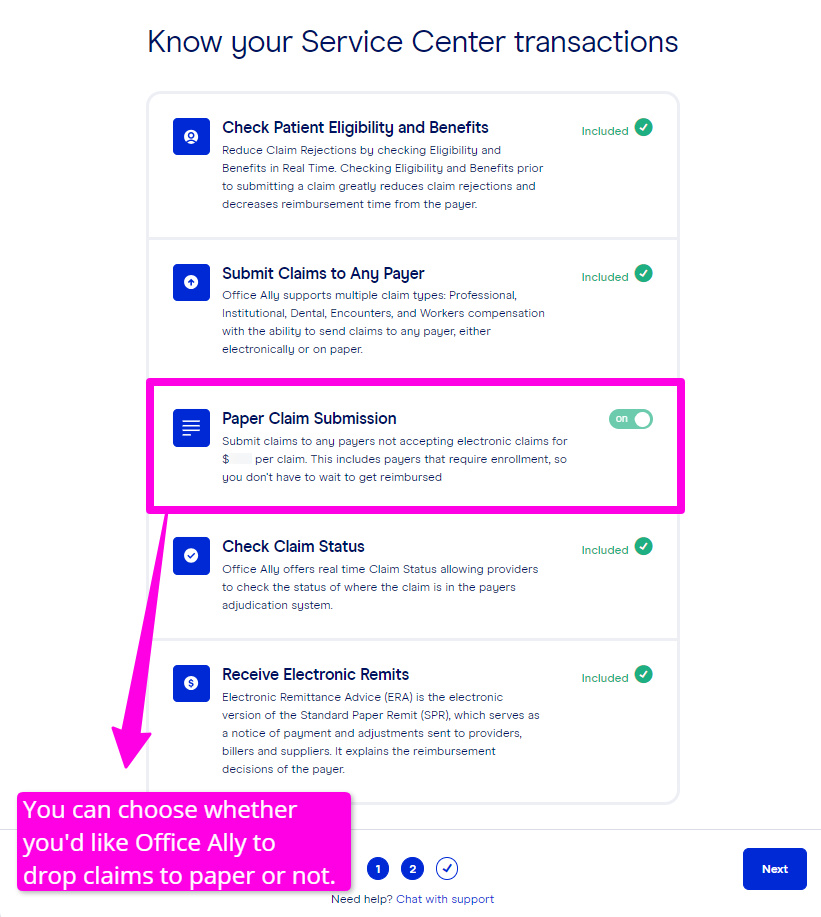
You can choose to have Office Ally drop claims filed electronically to paper if the payer does not accept electronic claims. Note: there is a $0.75 fee for each claim dropped to paper.
VERY IMPORTANT! You will need to make sure that you select "Create claims using my current system". Then type in ChiroFusion and select from the list of EHR software. 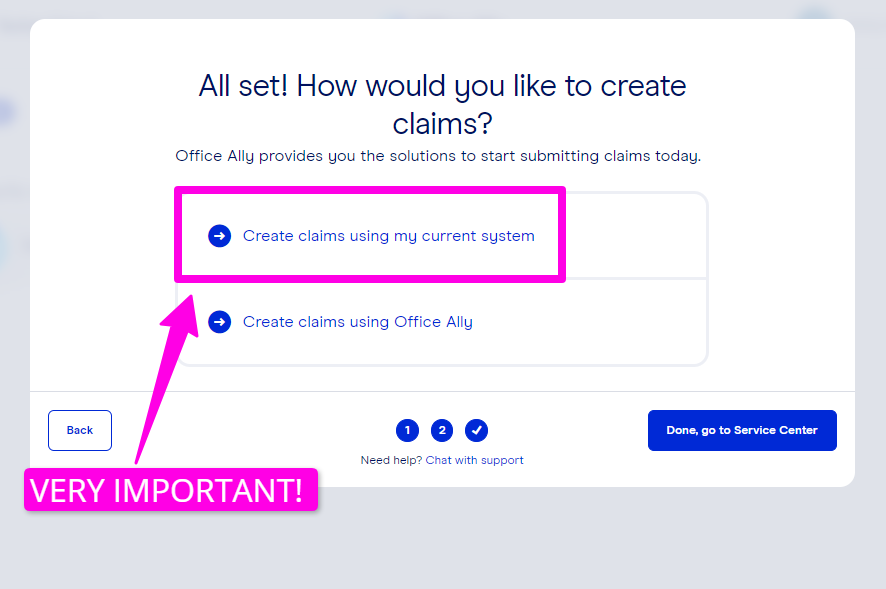
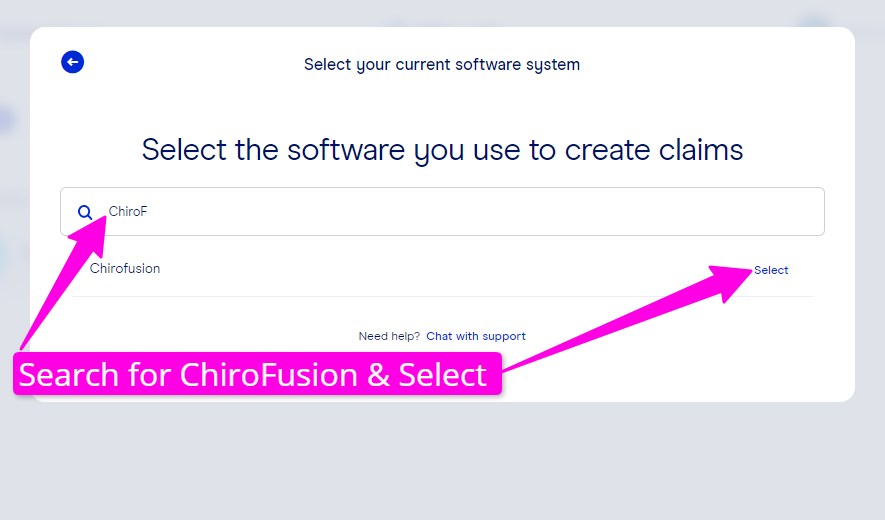
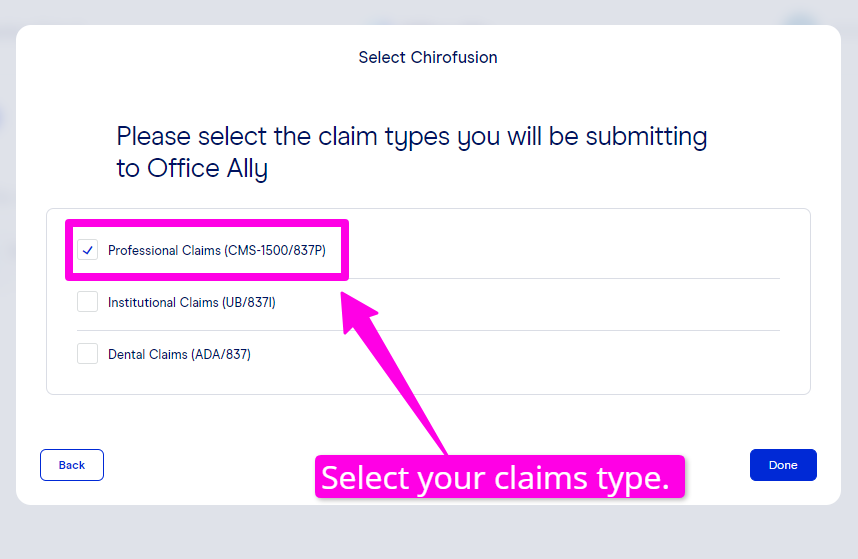
Select the type of claims you'll be filing. (Professional Claims CMS-1500/837P)
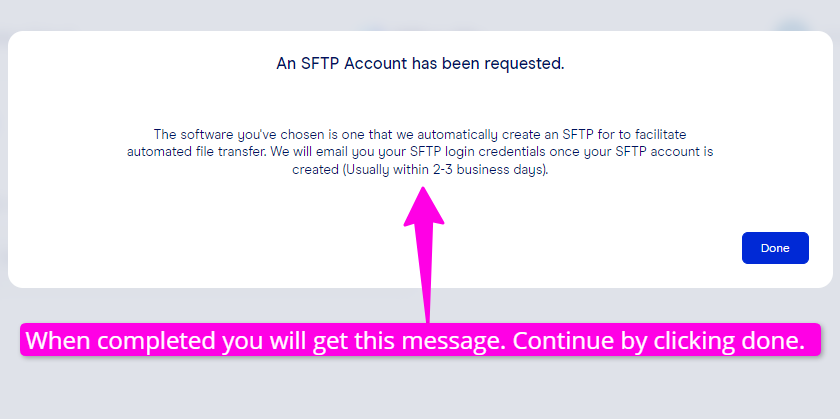
Finally, you will get a message telling you that your SFTP account is being created. Click done and that will redirect you to your Service Center.
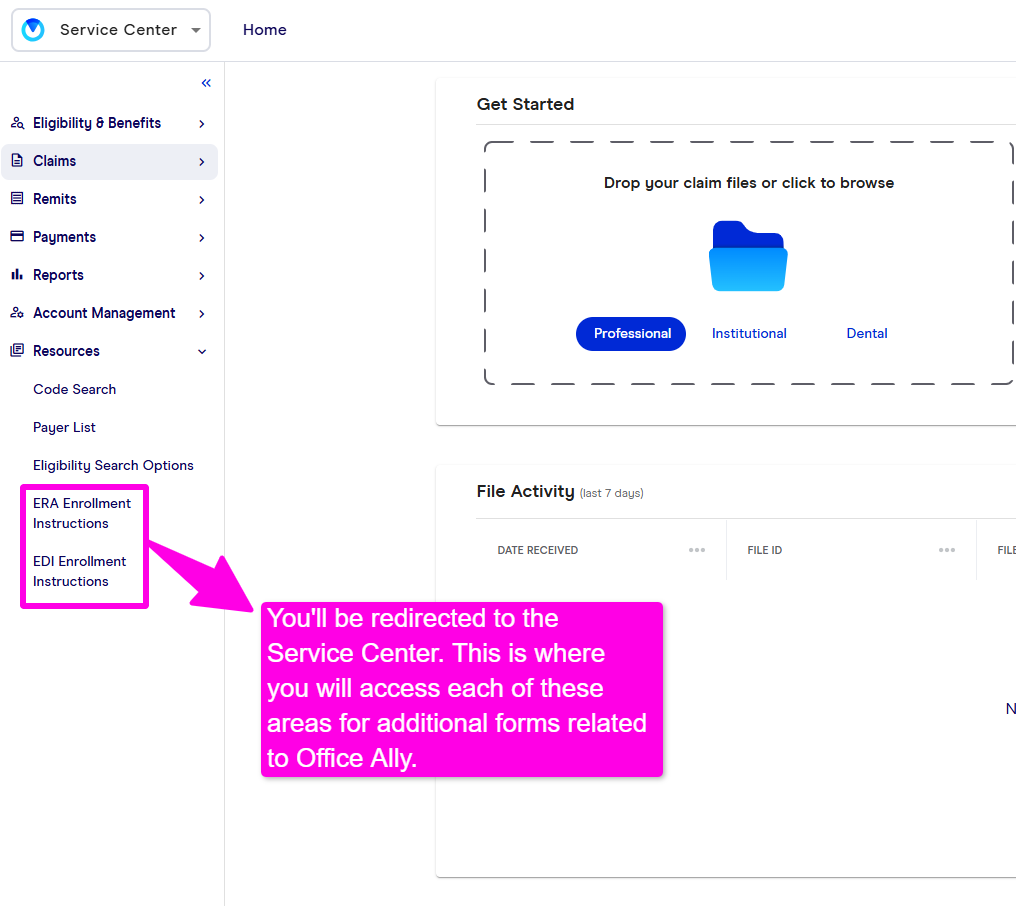
STEP 2. Complete the ERA Delivery Change Form
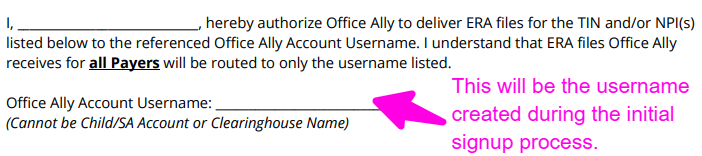
This is required for all new and existing Office Ally clients regardless of whether or not you have already established ERAs or will do so in the future (see below: be sure to enter the username for your Office Ally account in the indicated field). It is very important that you list all NPIs that you bill with.
STEP 3. Connect your Office Ally account with ChiroFusion.
Please Note: Office Ally will send you two sets of logins. The one needed for this step is the SFTP Username and Password that they will send to you in two separate emails.
Once the accounts are linked there is no need to log into your separate Office Ally clearinghouse account in order to manage or view your e-claims. All claims management will take place in your ChiroFusion account once you have completed the above step.
All clients utilizing a ChiroFusion account for e-claims must complete this process. This also applies to any client who plans on utilizing e-claims in the future at any time.
*** It is important to complete the above process as soon as possible. You will not be able to file electronic claims through your ChiroFusion account until this entire process is completed and your account is connected ***
Once you have completed all 3 steps you should be good to go! If you have any questions, please contact us at www.chirofusionhelp.com
________________________________________________________________
* Office Ally is a free clearinghouse solution. A cost is only associated with Office Ally when non-participating (non-par) claims are billed. Office Ally charges a $44.95 flat fee per Tax ID/NPI combination for any month in which non-par claims are billed. This fee is billed directly by Office Ally and is not associated with ChiroFusion. Office Ally provides a full list of non-participating payers, which are payers that do not participate with Office Ally.